
It's high time for a new project around these parts! After adding a new armchair to our living room this summer, I felt that a few other things could be updated to accommodate the new style and textures of our chair. Enter that vintage nightstand that I refinished a couple of years ago. We've been using it as a side table in our living room right next to said chair. Although I still like the way the nightstand/table turned out, its time for something new. Something a bit more fun and edgy! Hence the studded trim above!
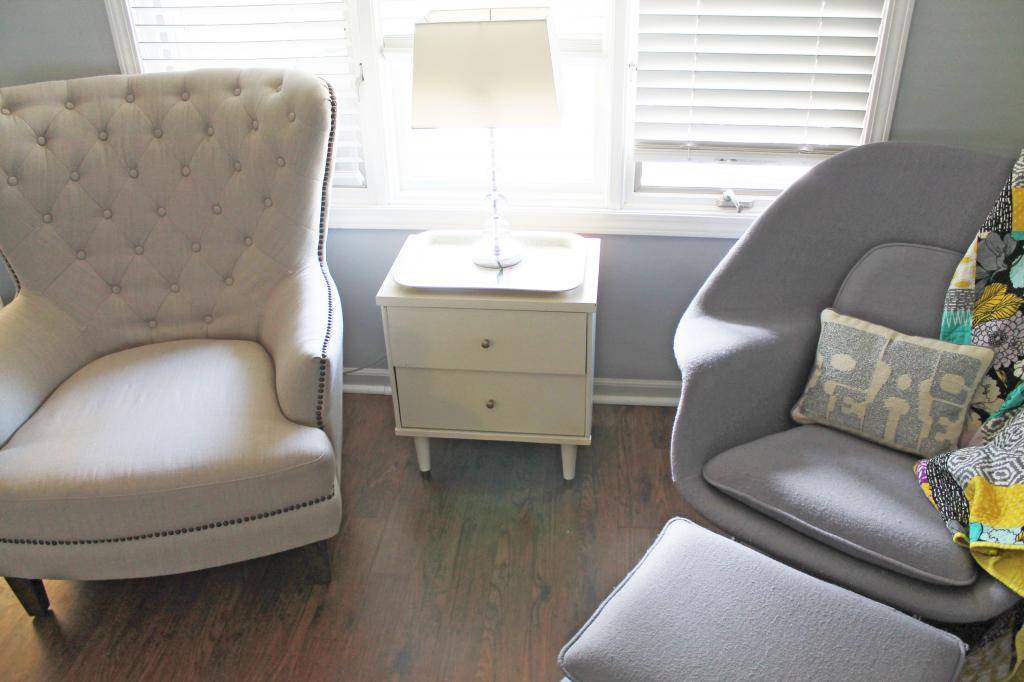
Our new chair has a really awesome nailhead trim that I love. So I became inspired to incorporate more of the nailhead trim into other pieces. Here is a quick look at our current setup, new chair on the left...
If you follow me on Pinterest, you may have noticed that I'm a total sucker for a Greek key pattern. Literally anything with that pattern on it has me swooning. As I started Pinteresting, I become really into the idea of using the Greek key pattern as a nailhead design. Here are a few inspirational images Greek key and otherwise from my Pinterest...


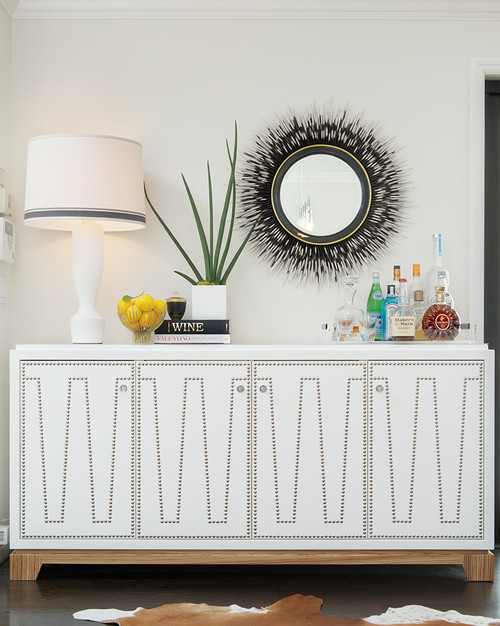
How amazing is that last one?! So up my alley! Not quite right for this project, but definitely filing it away under future-awesome-projects-to-do. Everyone has one of those files I assume. :-)
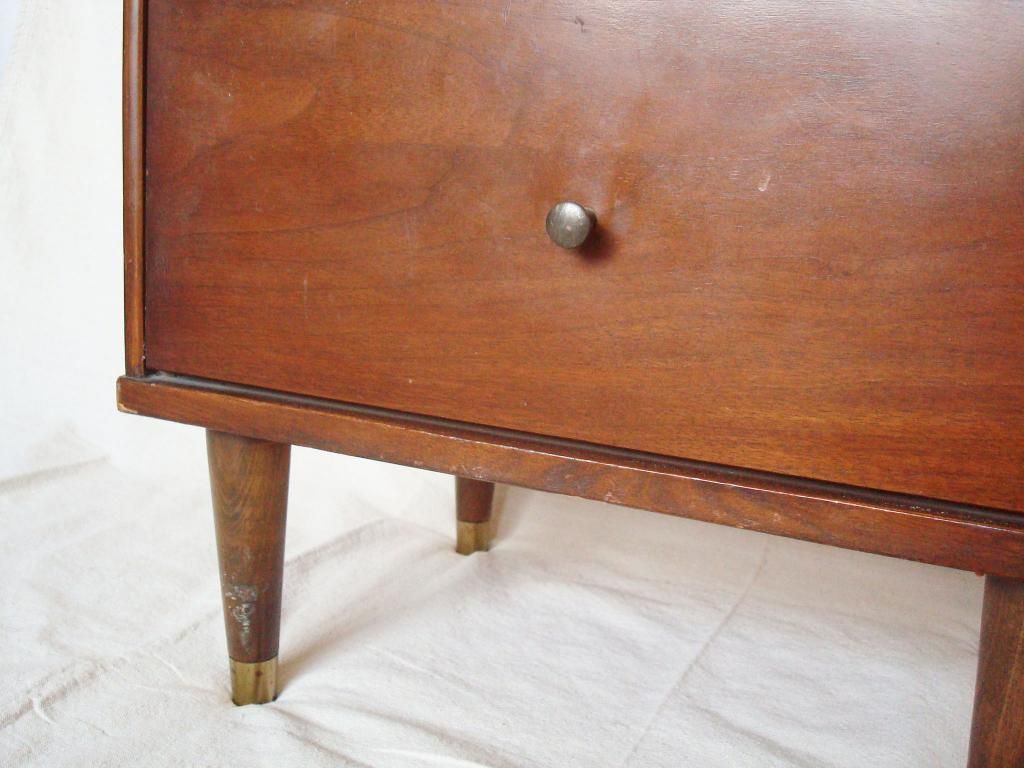
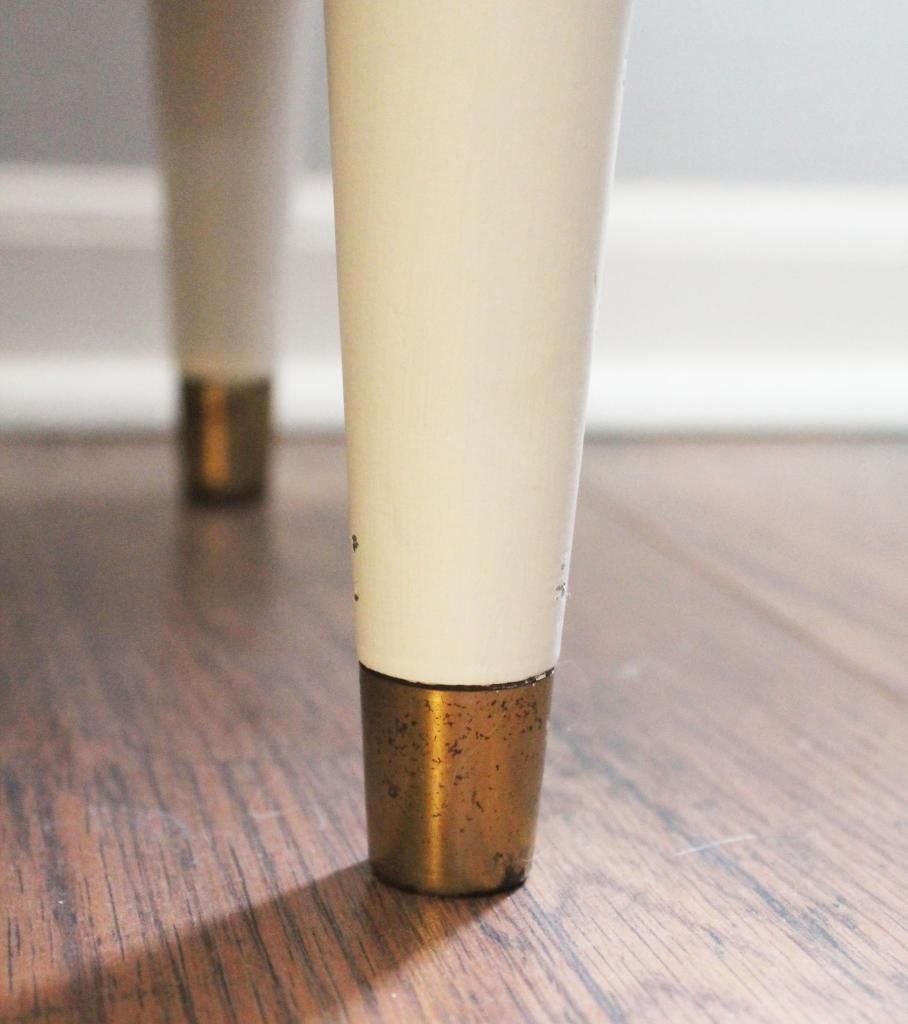
So first, here is a look at the vintage nightstand before the initial redo a few years ago...
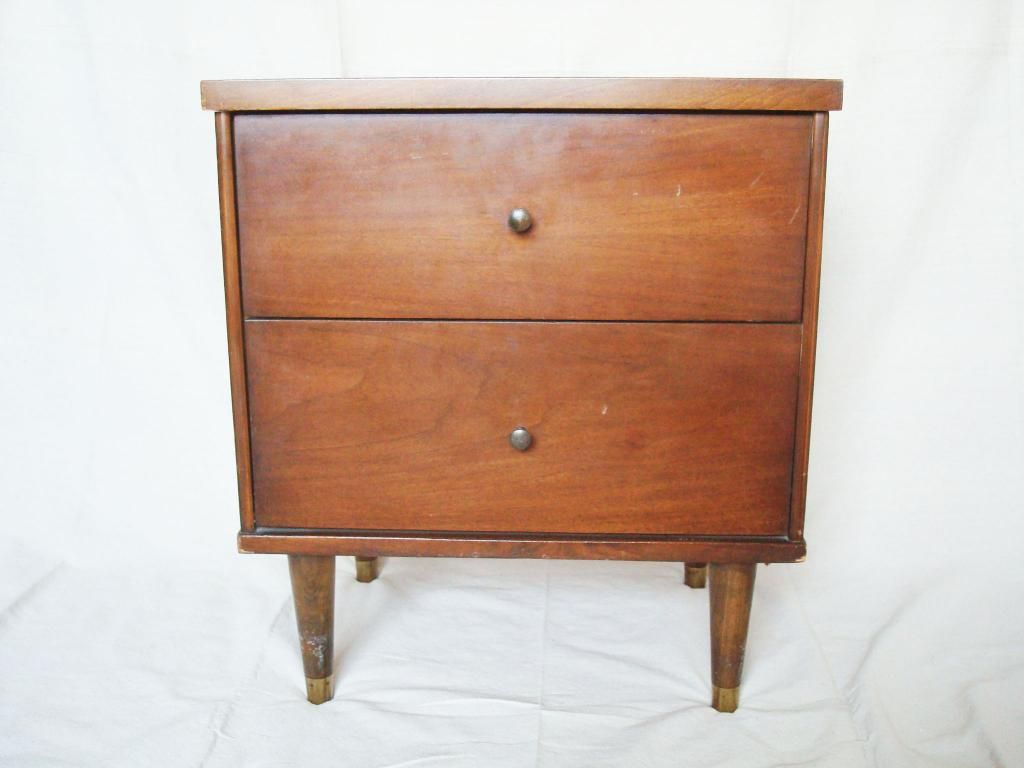
Ouch...
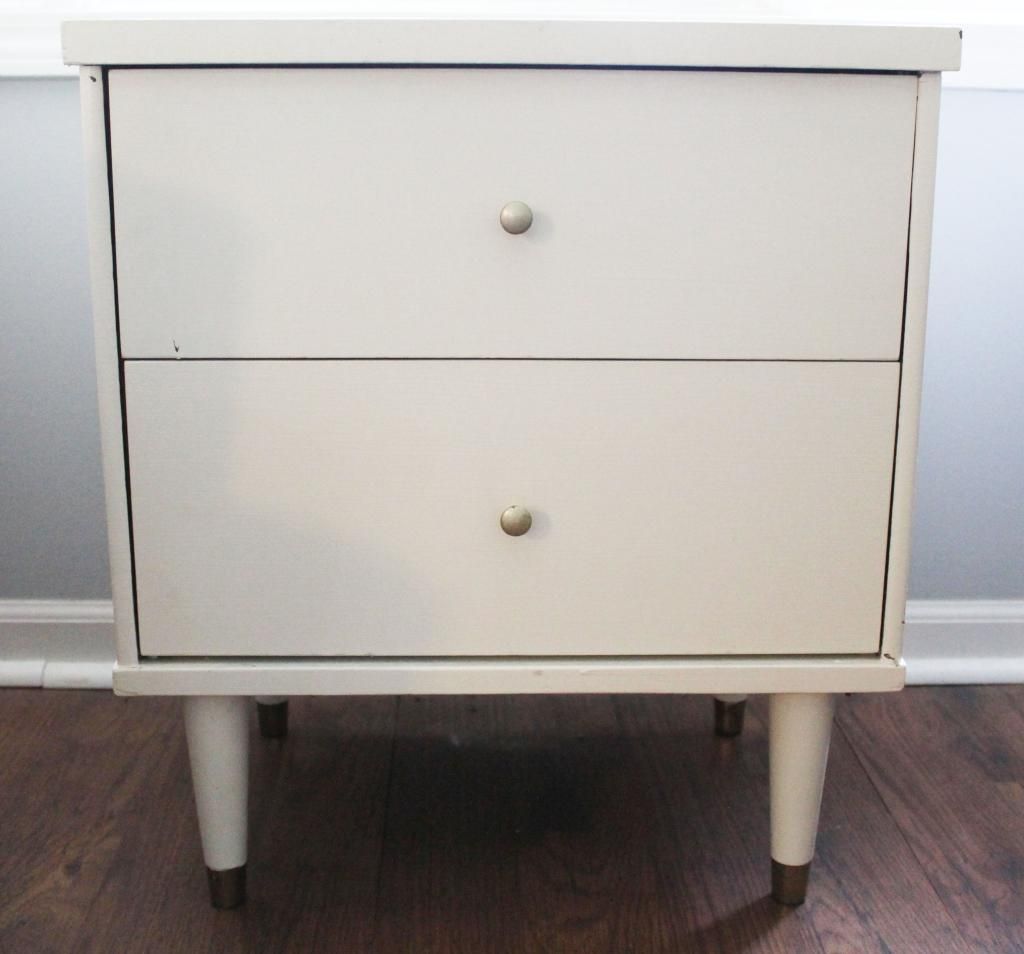
And a look at it now...
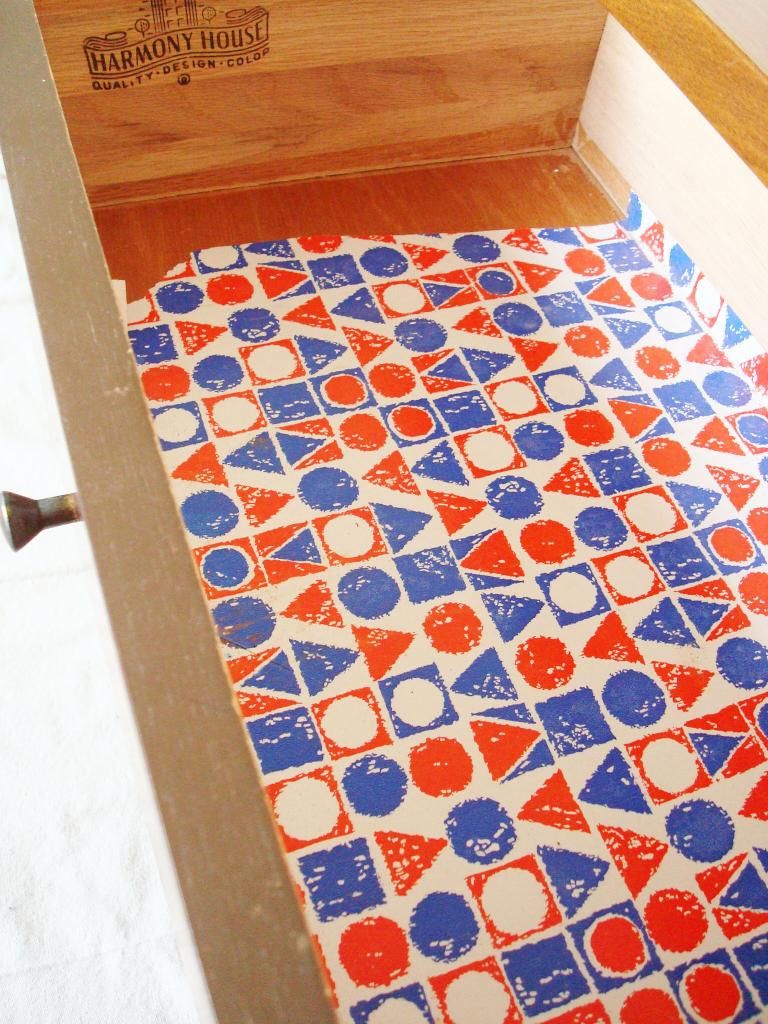
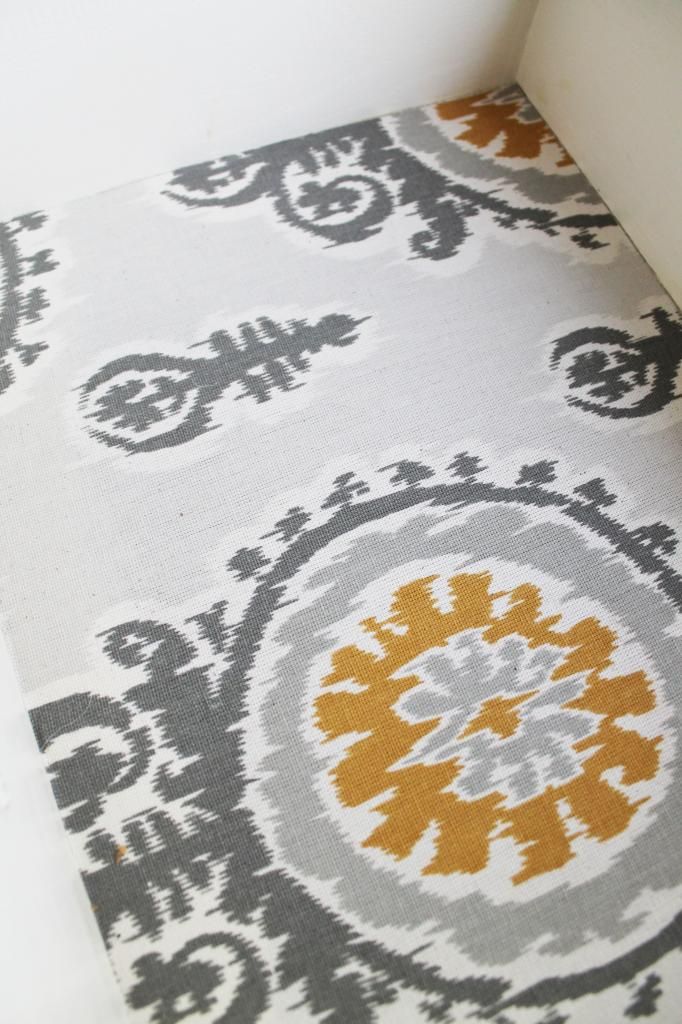
I love fabric lined drawers...
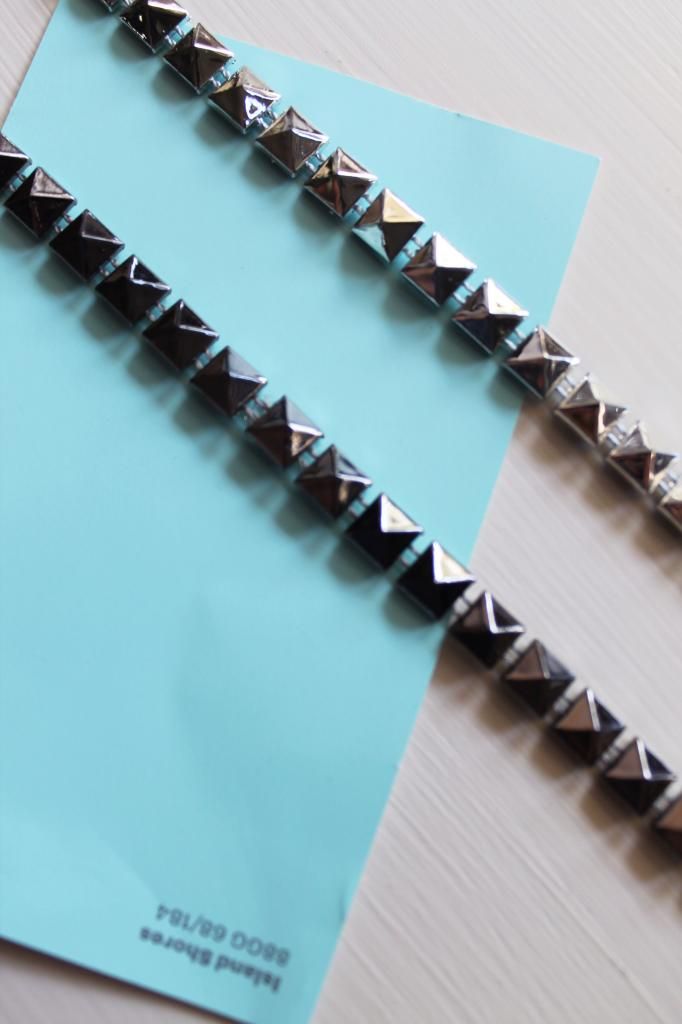
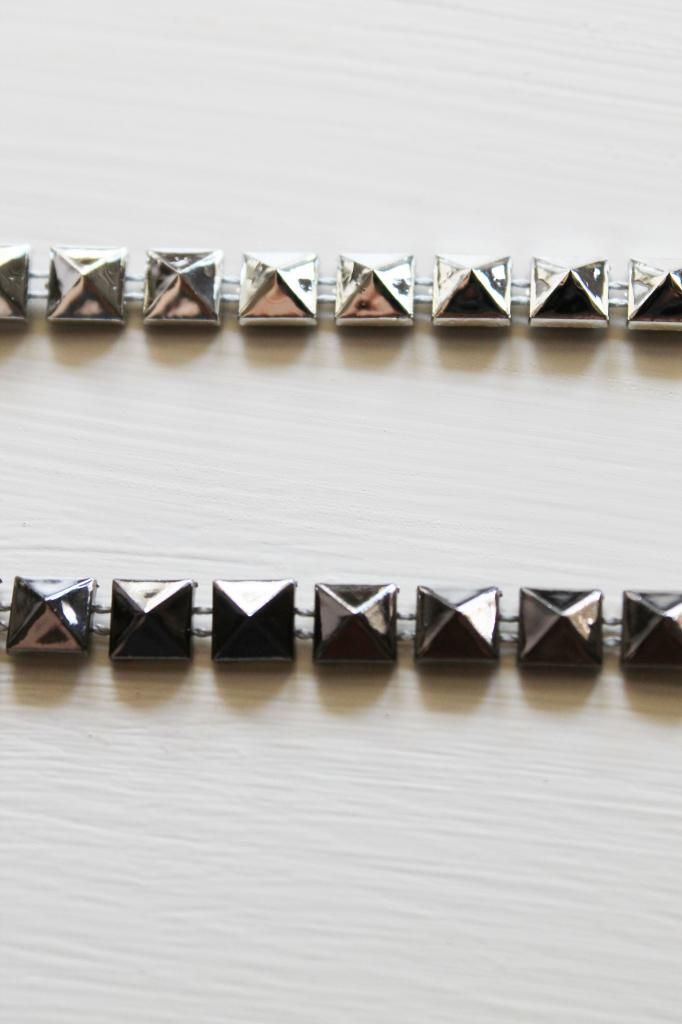
So back to those awesome studs...when I went looking in search of nailhead supplies locally (i.e. not online) I didn't find much that I could use for this project. Most of the supplies I found were larger nailheads for upholstery. With such a long nail attached, those would be much longer than the thickness of the wood they'll be going into. Not to mention hammering in each one. Luckily, these studs totally caught my eye. Not only are they awesome looking but they don't have to be nailed in because they are completely flat on the back but held together as a trim with thin string.
I think I have a thing for studs...

Oooh la la.....


So I ended up buying a couple yards of studdage. (New word?) I picked up two different color options. One is a straight silver stud and the other is more of a charcoal grey color. After I get the nightstand painted, I'll just see which stud color goes best with the new paint color. Next time I'll share more about the step by step of the process and show some drawings of the pattern I plan to use!
No comments:
Post a Comment