
So here is the rough draft of a game plan to tackle this Redo Redone (any football fans out there? :-)
1. First, I'll use a deglosser like this one and a bit of sanding to create a new, gritty surface for the fresh coat of paint. For the new color, I'll be using the Glidden paint "Island Shores."
Ooooh ahhhh...

2.) Once the nightstand has been painted and has been able to cure for a few days, the plan is to apply the stud trim with a super strong glue. I picked one up at Hobby Lobby that is supposed to work well on wood. So we'll see how that goes! I'm also planning on lots of measuring, making sure lines are straight, etc for this step as I attach the studded trim. Like I've said before, lots of trail and error, as well as error and error! All of that jib-jab will be covered in the final post.
Now for a look at the design I'm most considering using. I drew up some designs in Illustrator to get an idea of the look I'm going for...

I love the boldness of the Greek Key in the photo above. Go big or go home. :-) Originally, I drew the Greek Key part much smaller. But I think it looks a bit wimpy. I'm definitely drawn to the larger design above than these smaller ones...
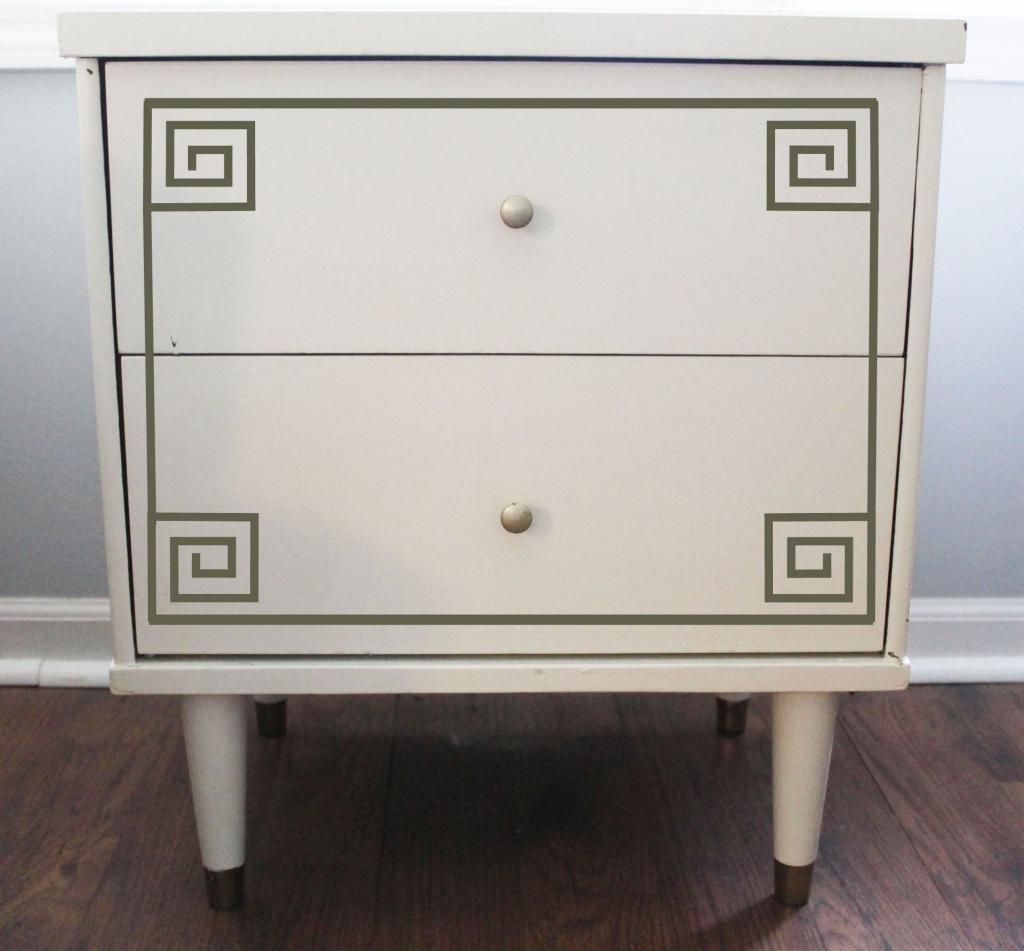
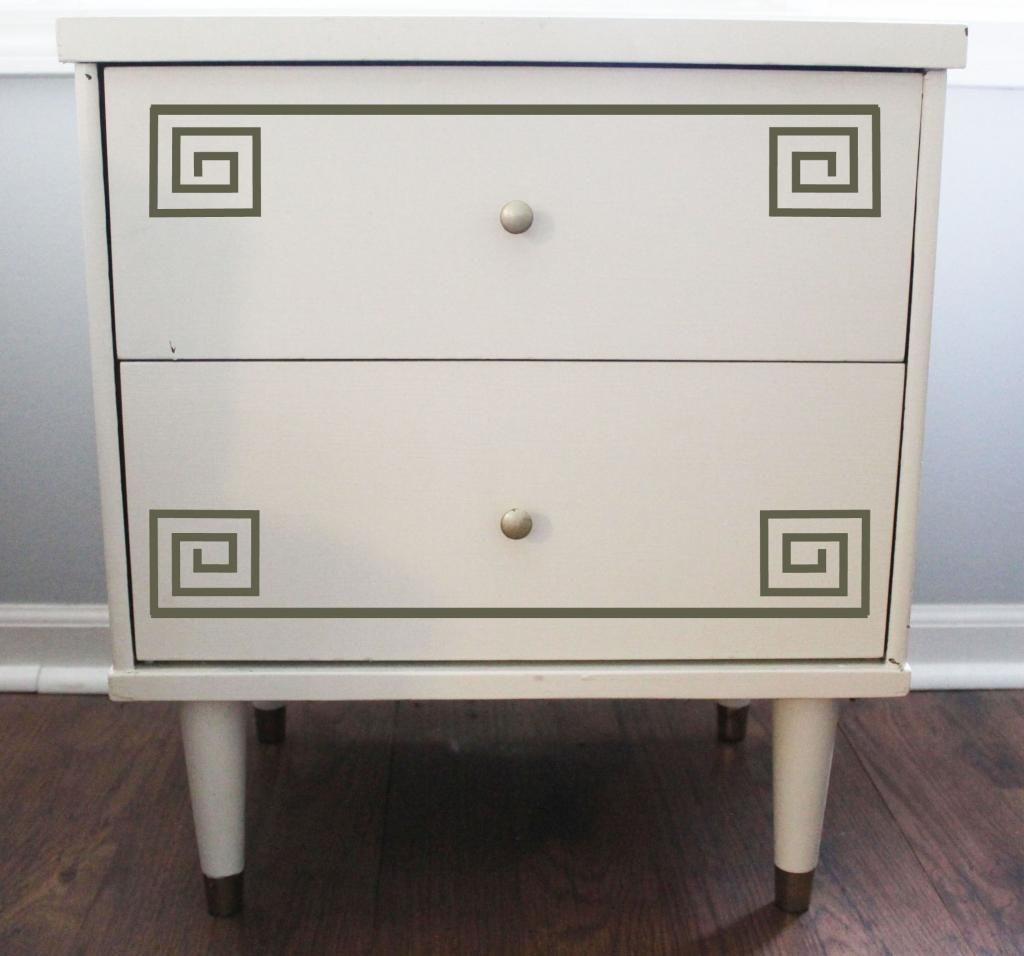
The smaller ones while more subtle just don't do as much for me. I won't truly know until I start playing with the studs (ahhh yeah.)
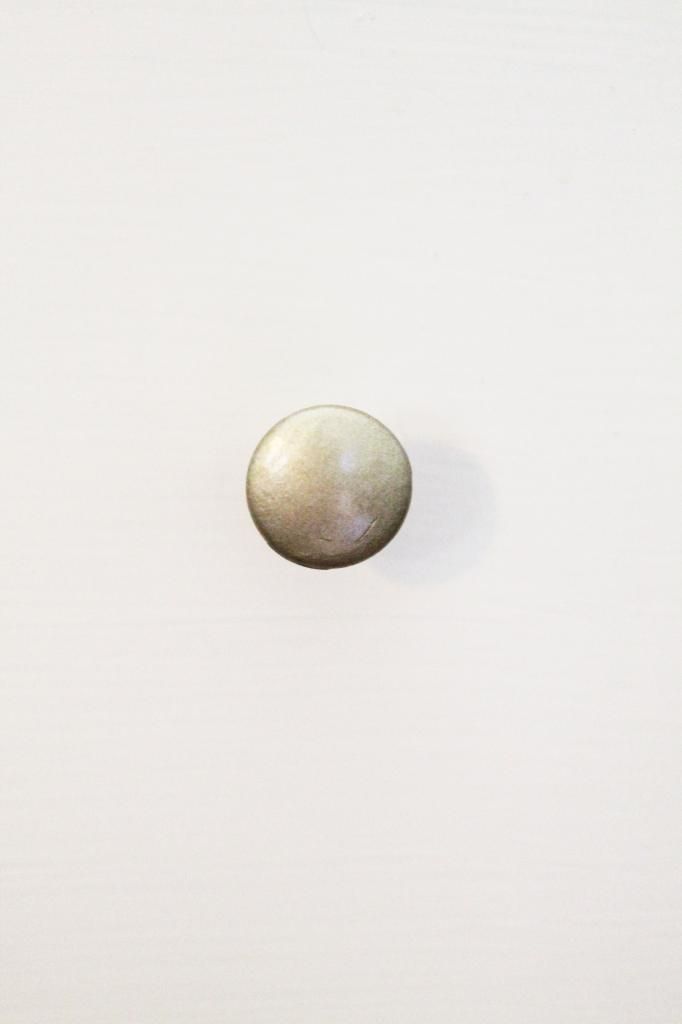
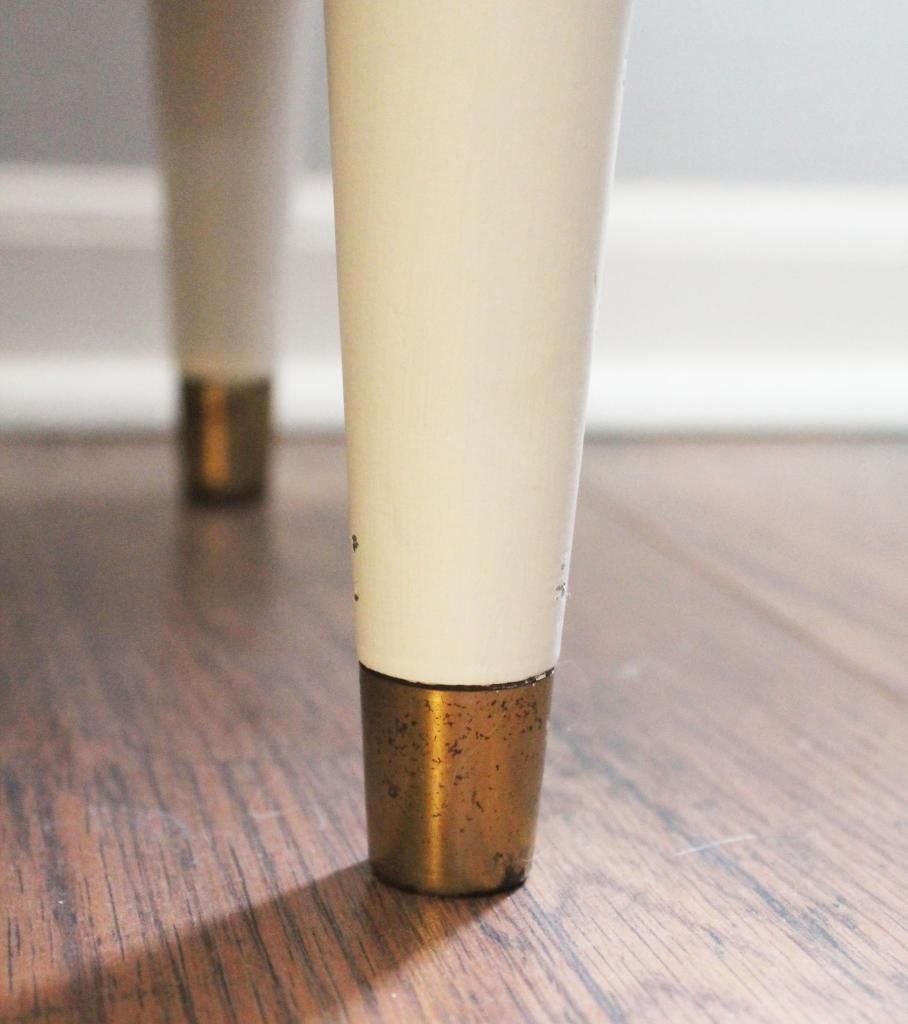
3.) I most definitely will need to repaint the knobs and gold at the feet of the nightstand to make sure everything goes well together. Both stud colors don't really go well with the gold knobs and feet. Note: I spray painted the knobs gold and the gold on the feet is original.
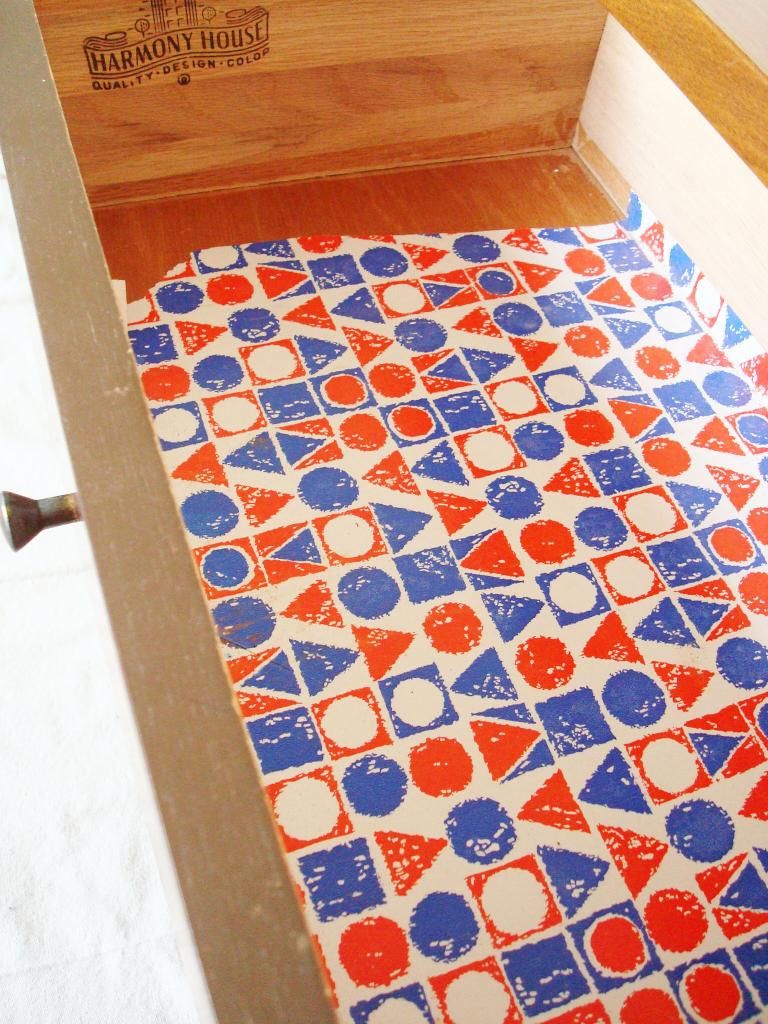
4.) As for those fabric lined drawers, they were so fun to install (I'll be posting about that!) but I've never had to remove them before. This should be interesting. :-) I used Mod Podge to adhere the fabric and it has really stayed in place. No issues with edges peeling or anything. So I need to research some ways to remove the fabric so I can update it with a new one. Here's another look at the before and after of the drawers...
Before...
After...

So that's the plan so far. Of course there will end up being some bumps along the way but this should be interesting! Stay tuned for updates, I will share the results good or bad. :-) Until next time!
No comments:
Post a Comment